
My FOUNDATION routine
Hello lovely people,
I am so happy that my last step by step makeup post was so well received. Much more people clicked on the post than they did on the previous kinds of makeup posts. So I think I'll continue to do them in this manner.
Today I have a very important makeup post for you, it is about my foundation routine.
These are all the products I use for my foundation routine:
-face toner (applied with cotton pad)
-primer (either a pore filling one or a redness corrector, or both)
-foundation (applied with beauty blender or foundation brush)
-concealer (applied with beauty blender)
-pressed highlighting powder (applied with a brush)
-loose translucent powder (applied with a brush)
-pressed contouring powder (applied with a brush)
If you want to know how I apply these products and what you have to keep in mind, please keep on reading :)
STEP BY STEP INSTRUCTIONS:
1. One of the most important things before you put on any makeup is to make sure that your face is completely clean. Always keep in mind to wash it before you apply makeup. Otherwise your skin will get pimples and redness much more easily, and we don't want that.
2. Next step is to put on a face toner. The toner cleans the rest of the dirt off your face and also soothes your skin, so it isn't irritated or something like that. My favourite one is "Eau Roma Water" from LUSH.


3. After your face is all dry again, apply a primer. In this case I used two primer, one which fills in your pores and makes them less visible and one that corrects the redness in your face. A primer also makes sure that the foundation you put on afterwards stays in place a long time and doesn't move too much after a long day.

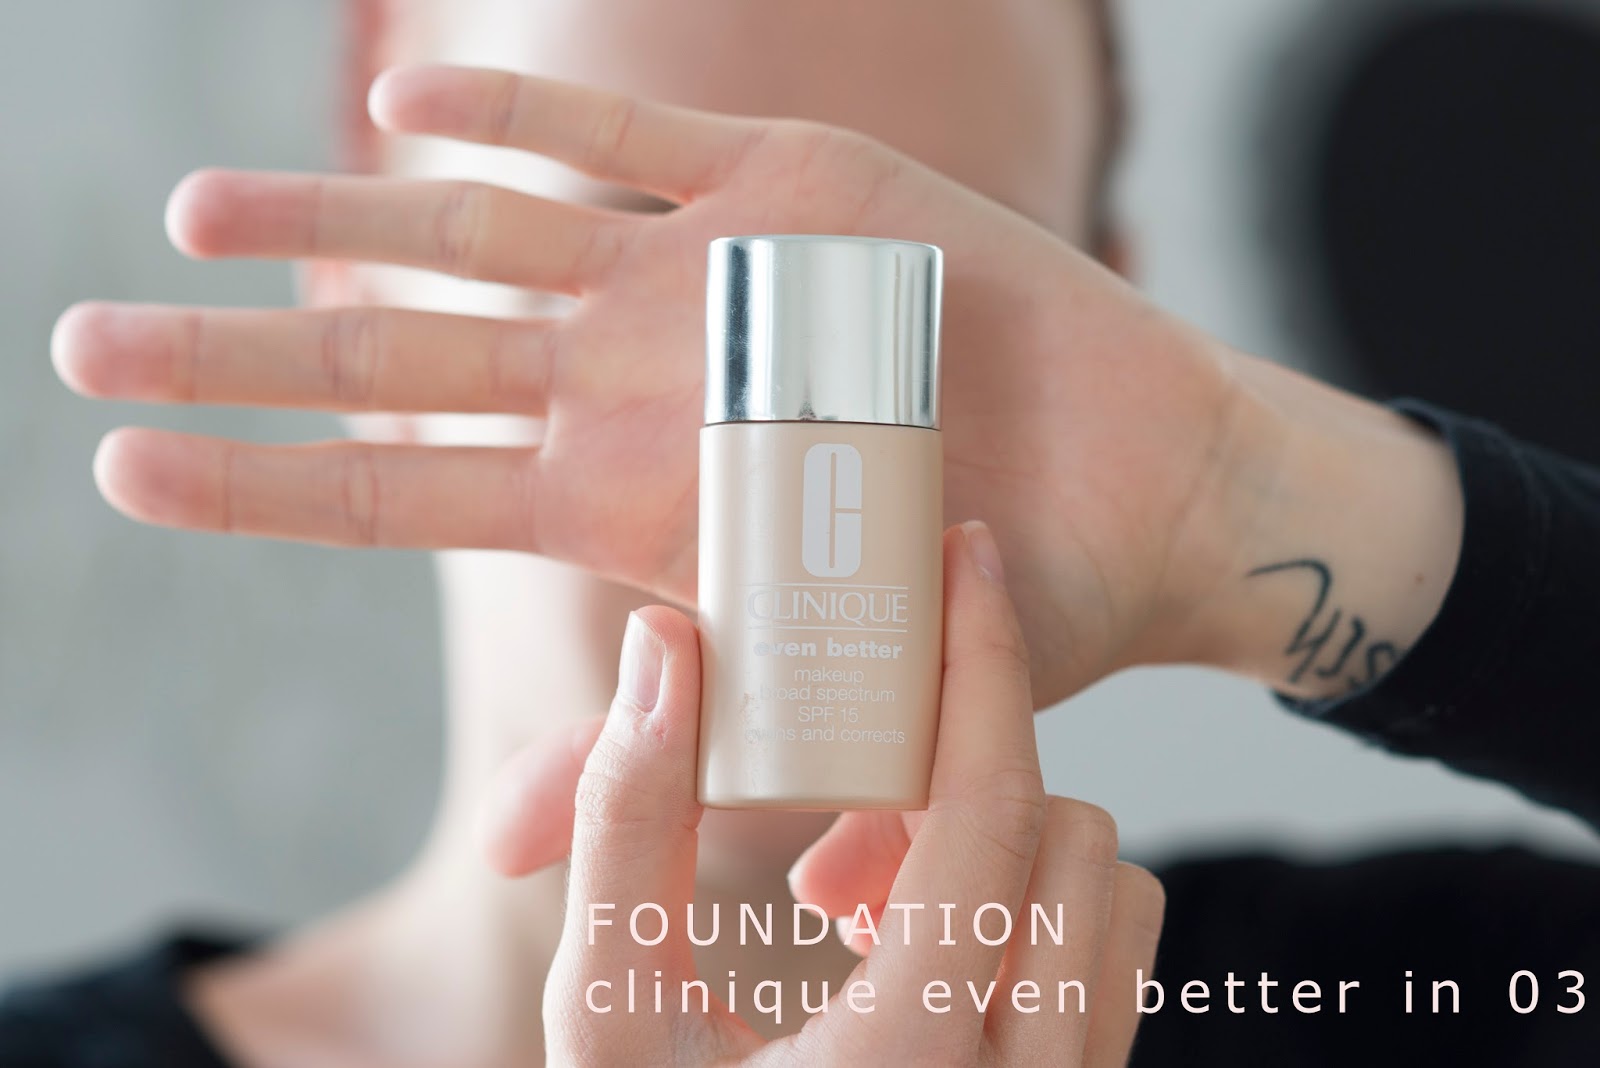
4. Next up is the main step in this routine, it's the foundation.
It isn't easy to find the perfect colour for your skin. I suggest you try out many different kinds of foundations in the shops. I recommend you put a tiny little bit on your cheek to see if the colour fits you, don't try it on the back of your hand as it is possible that it has a different colour than your face.
I always find it most convenient to apply my foundation with a damp beauty blender, which you can get for little money at dm.
Make sure you don't miss out parts of your face and keep in mind to include your neck. It looks a bit weird if the foundation stops at your neck and continues only on the face, so don't forget to blend the foundation down to the neck also.


5. It's time for concealer. This isn't a must. Some people don't have dark circles under their eyes. But if you do, this is the best solution for it. And it's also good to emphasize some parts of your face, to make them lighter than the rest of your face.


6. To set your concealer use the pressed highlighting powder in all the areas where you want to highlight (over the concealer). This ensures that the concealer stays on your face and that wrinkles can't evolve.


8. After having put powder all over your face, it's time to contour. This isn't always that easy. It's important that you find the spot under your cheekbone, so try feeling it with a brush or a finger first, so you don't place it in the wrong position. If you found the right spot, start at the outter edge of your face and put it inwards in circular motions. Make sure to stop two finger's breadth from your mouth.
Also countour places on your face which are a bit too big for you, or areas you want to take the focus away.


<3
Anna Florentina


0 Kommentare